PHP Tutorial: How to Install Laravel – A PHP Framework.
PHP is a server-side programming language primarily used in web development. Using PHP, you may allow your user to interact with the script directly and simply grasp its syntax. Because of its user-friendly environment, it is often utilized by beginning coders.
You may visit the official Laravel site for documentation and installation using this link. First, make sure you meet the following requirements:
PHP >= 7.0.0
OpenSSL PHP Extension
PDO PHP Extension
Mbstring PHP Extension
Tokenizer PHP Extension
XML PHP Extension
To get PHP version >=7.0.0, you may download XAMPP which supports PHP 7 or higher using this link.
Edit Environment Variable
Please note the directory of PHP after installing version 7 or higher; we’ll need it for an environment variable.
Right-click on our computer, then click Properties or navigate to Control Panel > System and Security > System.
Click Advanced system settings, then click Environment Variables.
At System Variables, choose Path, click Edit, and select the Path of your PHP 7 or higher and click OK.
Install Composer
We will proceed to install composer to manage the dependencies of Laravel. Use this link to download the composer. Choose the location of your PHP 7 installation when installing composer, in my case in C:/xampp7/php/php.exe. After installation, enter the following code into the command prompt to check your PHP version and composer. To check PHP version: php -v and to check composer: composer -v
Installing Laravel
We’ll use our composer to install Laravel by entering the following code in the command prompt:
composer global require "laravel/installer"
By entering Laravel in the command prompt, you may determine whether it has been installed correctly.
Creating New Project
Choose the directory where you wish to store your project. For this tutorial, I am using C:/xampp7/htdocs. In the command prompt, navigate to your directory and type: composer create-project –prefer-dist laravel/laravel mysite. By doing this, the latest version of Laravel will be used to create our project, which will be called mysite. Simply add “version.*” at the end of the line to select which Laravel version to use. For example composer create-project –prefer-dist laravel/laravel mysite “5.4.*” for laravel 5.4.
Adding our Project to Localhost
Open the XAMMP directory, in this tutorial, in xammp7. Open in text editor xammp7/apache/conf/extra/httpd-vhosts.conf.
3. Open Notepad as Administrator and open C:/Windows/System32/drivers/etc/hosts. Ensure to select all files in the “etc” folder to make hosts file visible. Add the ff. codes at the botton in hosts file.
127.0.0.1 mysite.dev
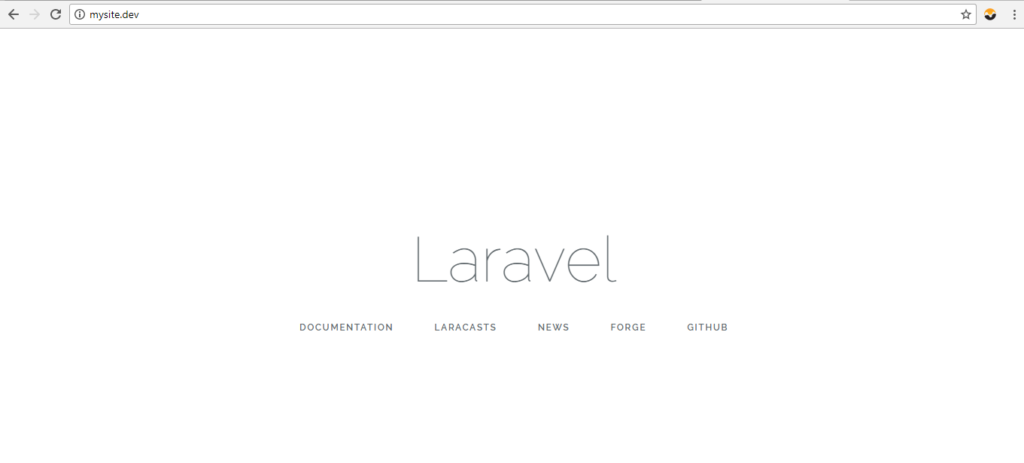
Running our Project
Restart XAMMP and enter the name of your project in the web browser. In this tutorial , mysite.dev It should look as follows: